
Last updated November 15, 2026
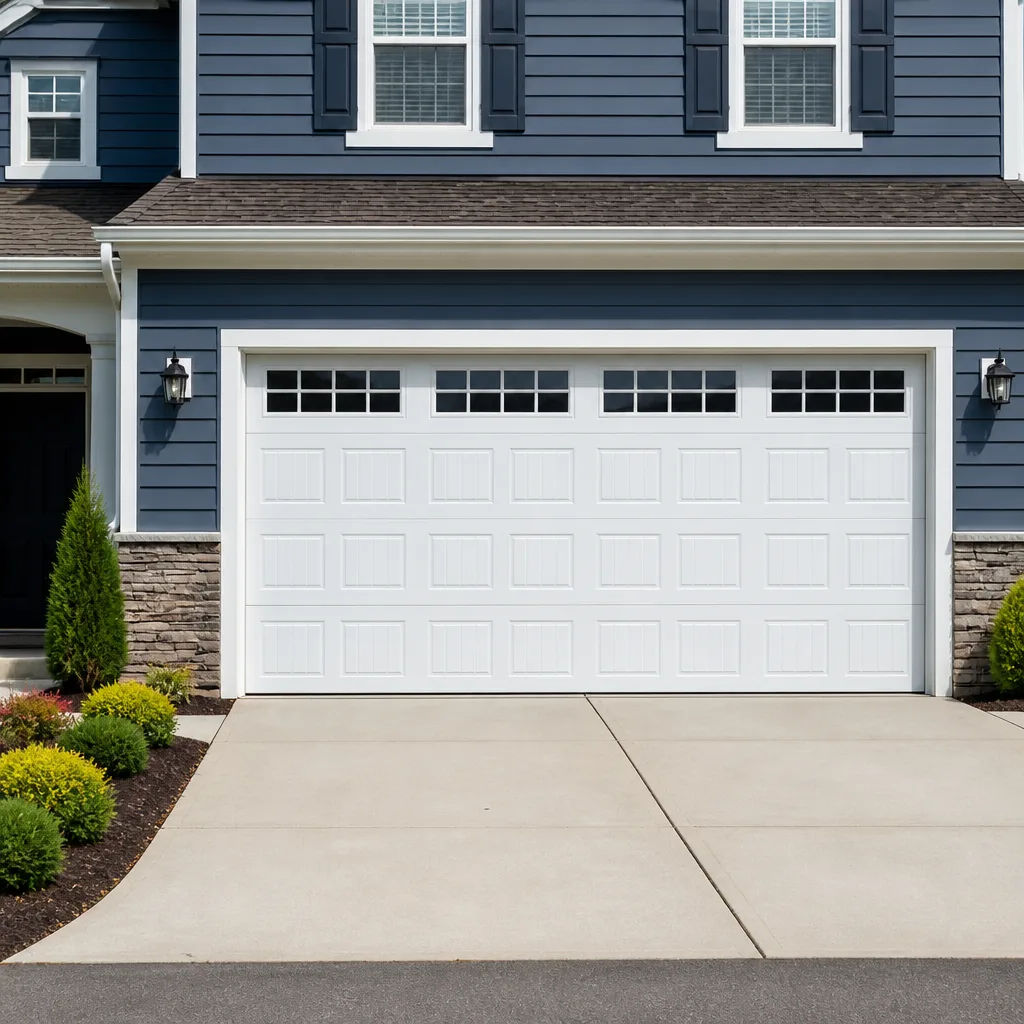 Raised-panel steel
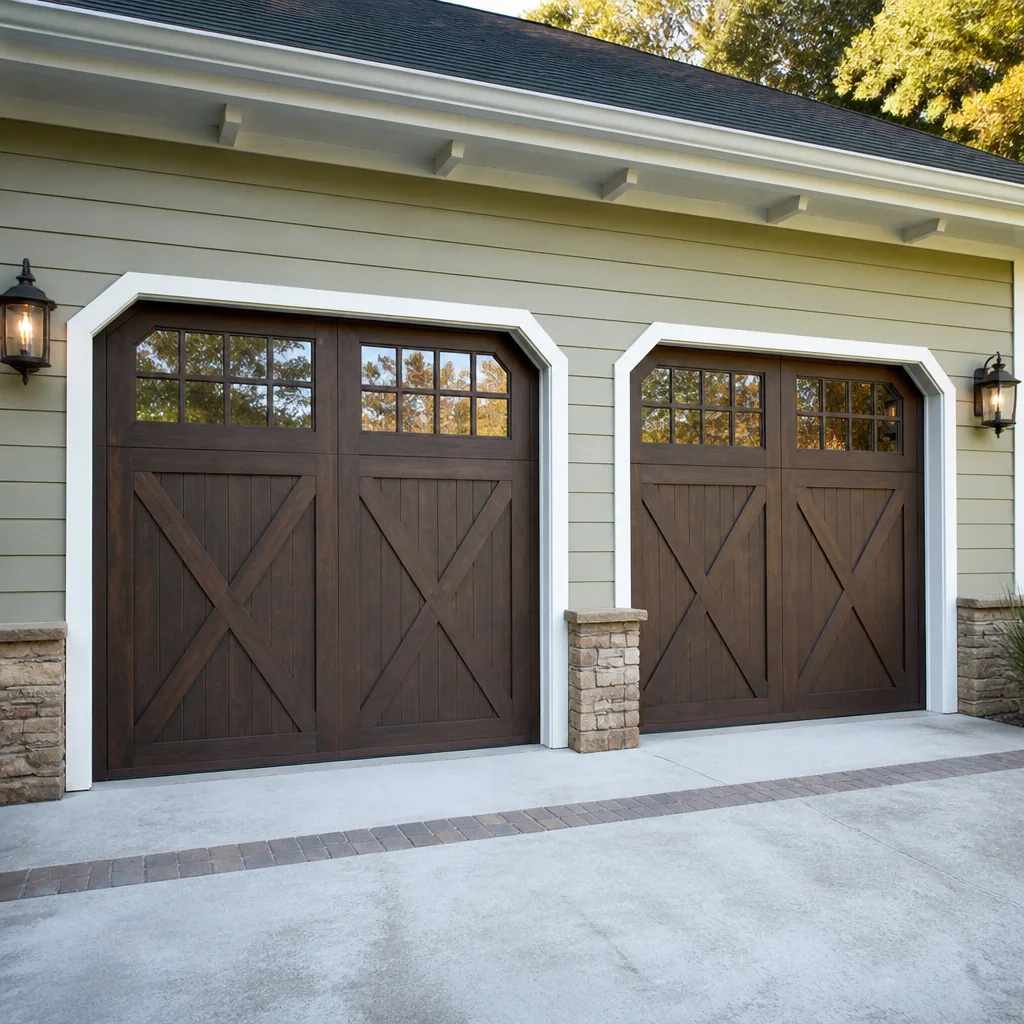 Carriage house
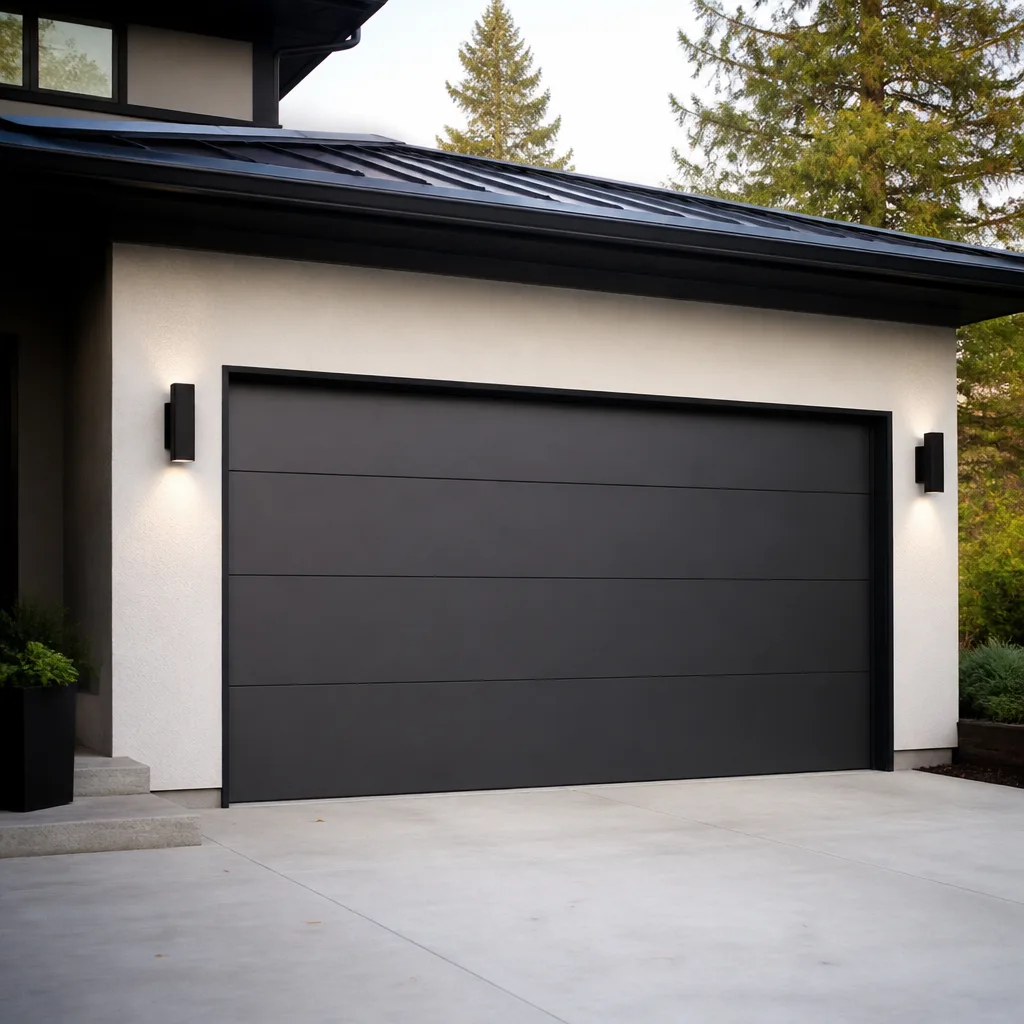 Modern flush
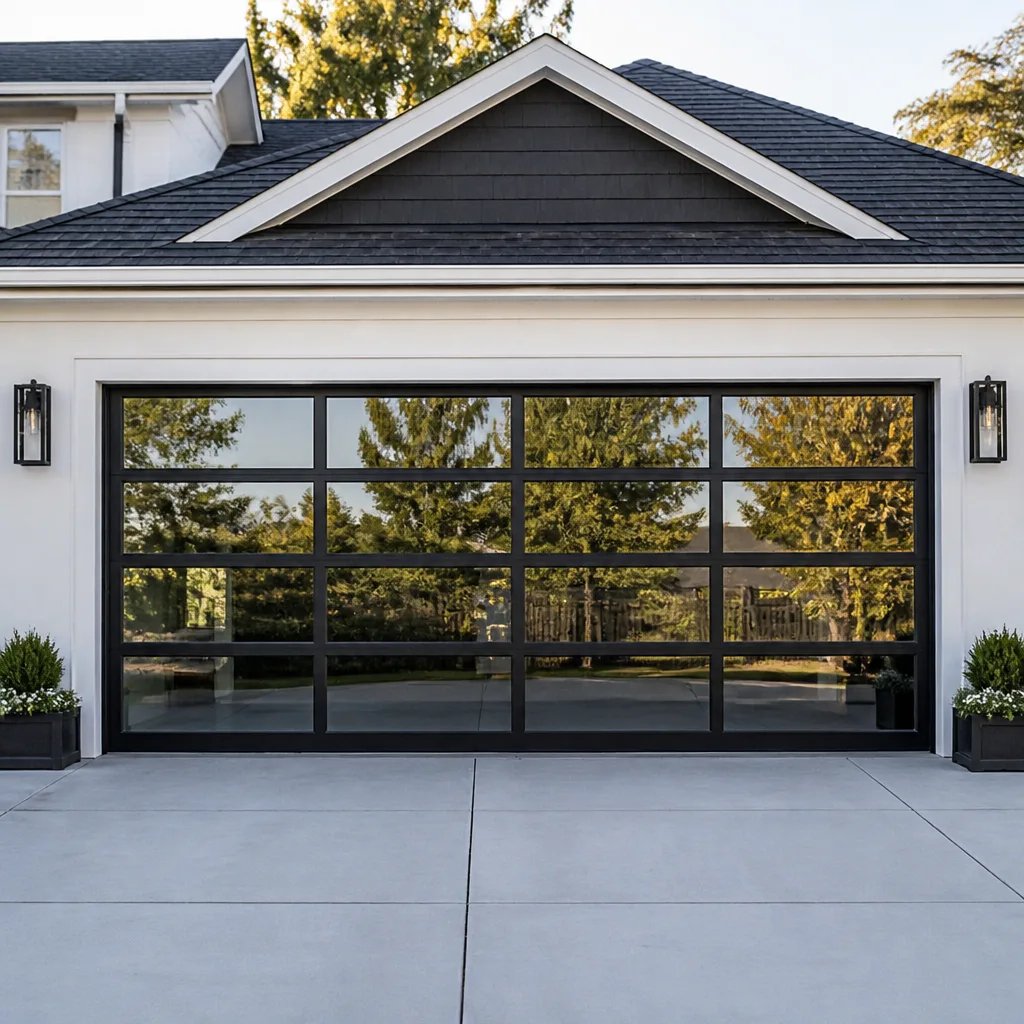 Full-view glass
 LiftMaster openers
 Chamberlain openers
Full 25-point door and opener safety check with every visit - springs, cables, rollers, tracks, and your LiftMaster or Chamberlain opener included
You get a price before we start. It does not change when the pro arrives.
Get your free estimateDIY vs Professional Garage Door: The Lansing Homeowner’s Decision Guide
Most DIY-versus-pro advice for garage doors gets the framing wrong. It treats every task as one big bet on money against risk, as if tightening a hinge bolt and unwinding a torsion spring were the same kind of gamble at different stakes. They’re not. Some garage door jobs save you real money with almost no downside, and one or two of them can hurt you badly enough that no savings justify the attempt. The distinction isn’t caution versus thrift. It’s knowing which task you’re actually holding.
This guide sorts the work by real risk and tool cost, shows you the balance and safety tests technicians actually use, and gives you the math on where DIY stops making financial sense. You’ll finish knowing what to handle yourself in Lansing, what to schedule, and what to leave entirely alone.
Quick Answer
For Lansing homeowners, DIY makes sense on lubrication, balance testing, photo-eye alignment, bottom seal replacement, and minor cosmetic dent work. It stops making sense on torsion spring replacement and cable work, where the stored energy and tool requirements turn a cheap repair into a genuine injury risk. Opener installation sits in the middle: DIY can work if you have the tools, the wiring comfort, and patience for calibration, but a professional install that includes proper travel-limit setup and warranty coverage often costs less than the mistakes.
Styles & brands we work with
- Raised-panel steel
- Carriage house
- Modern flush
- Full-view glass
- LiftMaster openers
- Chamberlain openers
Table of Contents
- Task-by-Task: What You Can Actually Do Yourself
- Why Springs Are Different: The Physics in Plain English
- The Tool Cost Reality Check
- A Legitimate Balance Test and Photo-Eye Check
- What “I Watched a Video” Gets Wrong
- The Opener Installation Break-Even Math
- Lansing Conditions That Change the Answer
- Common Mistakes to Avoid
- When to Call a Professional
- Frequently Asked Questions
Task-by-Task: What You Can Actually Do Yourself
Stored spring energy is the dividing line. Tasks that don’t put you anywhere near a wound torsion spring or a cable under tension are reasonable for a careful homeowner. Anything that does belongs to a trained technician. Here’s how the common garage door jobs sort out.
Reasonable for DIY:
- Lubrication – a proper garage-door lubricant on hinges, rollers, and the torsion bar bearings. Ten minutes, no disassembly, no tension release.
- Balance testing – the manual open-and-hang test we’ll walk through below. It tells you whether the springs are doing their job or the opener is carrying the door.
- Photo-eye alignment – the small sensors near the floor that stop the door if something crosses the beam. Re-aiming them is a screwdriver job.
- Bottom seal replacement – the rubber strip along the bottom edge. Slide the old one out, slide the new one into the channel, done.
- Cosmetic dent repair – a small crease in a steel panel can often be worked out with gentle pressure from behind. Cosmetic only.
Borderline:
- Cable replacement – the cables themselves look simple, but they’re under load from the springs. Replacing a cable means releasing spring tension first, which puts you back in the danger zone.
- Roller replacement – manageable on many doors if the door is fully closed and you’re only swapping the roller in the hinge.
Professional only:
- Torsion spring replacement – the single most dangerous job in the system. Covered in detail in the next section.
- Extension spring replacement – safer than torsion, but still stored energy, and the anchoring hardware can fail with serious force.
- Panel replacement on a raised door – alignment and track load issues make this a two-person, trained-technician job.
- Track realignment – a bent track can drop a door off its rollers.
In our experience across Lansing, the jobs homeowners attempt and then call us about most often are cable replacement and roller swaps done with the door up rather than down. Both are cheap for a professional and expensive when a door drops off its track mid-task.
Why Springs Are Different: The Physics in Plain English
A torsion spring is a wound-up power source, not a part. That’s the whole reason it gets its own section. When you look at one above your garage door, you’re looking at a steel bar storing enough energy to lift the full door, typically several hundred pounds, through its whole travel. As a rough reference point, a residential torsion spring can carry on the order of 150 foot-pounds of torque while wound. That energy doesn’t leak out slowly or warn you when the metal finally gives. It releases fast, and it releases toward whatever is below the bar.
The illustration of 150 ft-lbs of torque is often translated into a striking physical comparison: the same stored energy that lifts a couple hundred pounds of door is enough to drive a heavy tool or a person across a room. You don’t need to verify the exact number to understand the point. The energy is real, it’s stored, and it’s invisible.
Here’s what that means for a homeowner:
- The winding bars are tools, not improvised substitutes. A proper fit is the whole safety margin. Screwdrivers and hand tools slip.
- The spring is under load even when the door is down. “The door is closed, so it’s safe” is the misconception that causes most amateur injuries.
- There is no visual cue before failure. A fatigued spring looks like a healthy spring until it isn’t.
- The repair is cheap relative to the risk. A single torsion spring replacement is a modest, predictable cost. An emergency room visit is neither.
If a spring is making a loud bang, hanging loose, or the door no longer holds itself up, don’t test it. Shut the door manually if you can do so safely, and call a trained professional. That’s the one line in this guide we won’t soften.
The Tool Cost Reality Check
DIY savings disappear fast once you buy the tools. A homeowner starting from zero needs a few things that don’t live in a standard household toolbox. Here’s what a proper setup for the safer tasks looks like:
- Pair of winding bars – the one item that genuinely matters for spring work, and the item most people are tempted to skip.
- Proper garage-door lubricant – not engine oil, not WD-40 as a lubricant. A silicone- or lithium-based spray that doesn’t attract grit.
- C-clamps – for securing the door on the track if you’re anywhere near the torsion bar.
- Socket set and adjustable wrench – for hinge and bracket bolts.
- Spirit level and tape measure – for photo-eye and track checks.
For lubrication, seal replacement, and photo-eye adjustment, most homes already own enough. For anything touching the springs, the cost of the right tools creeps close to the cost of paying a professional to do the job once, done right. That’s the break-even nobody puts in the YouTube description.
In Lansing, our recommendation to most homeowners is simple: buy the lubricant and the winding bars, do the maintenance tasks, and stop there. Everything else, including cable replacement, is a phone call away.
A Legitimate Balance Test and Photo-Eye Check
These are the two diagnostics a technician runs on every service call, and both are safe for a homeowner to do. They tell you whether the door is healthy or the opener is doing work the springs should be handling.
The balance test (pass/fail)
- Pull the manual release cord to disconnect the opener. The door is now hand-operated.
- Lift the door to about waist height and let go.
- Observe. The door should stay where you put it. If it drifts up or slams down, the springs are out of balance.
- Raise the door fully to halfway, then release again. It should hold at roughly the midpoint.
- Lower it fully and confirm it settles without slamming.
A door that passes all five points is balanced. A door that fails any of them means the springs are tired or the door is out of adjustment. Either way, it’s a professional look.
Photo-eye alignment check (pass/fail)
- Find the two sensors at the bottom corners of the track, one on each side.
- Look for the indicator light on each unit. Steady light on both means the beam is clear and aligned.
- Press the wall button to close the door and pass your hand through the beam. The door should reverse immediately. That’s the pass criterion.
- If the door doesn’t reverse, the beam is misaligned, blocked, or the sensor has failed. Re-aim with a screwdriver, and if it still fails, call for garage door opener repair.
These tests are the cheapest insurance a Lansing homeowner has. Run them a couple of times a year, before the cold season and after.
What “I Watched a Video” Gets Wrong
Most spring-replacement videos online assume one configuration and leave you to figure out the rest. That’s the biggest gap between a tutorial and a real repair.
The two most common configurations, standard-lift and high-lift, can look identical in a video taken from a normal angle. The difference is how the door sits relative to the ceiling, how many turns the springs are wound, and how the cables route. Get the drum and spring sizing wrong for a high-lift setup, and the door will operate badly, wear out the opener, or come off the tracks. On video it looks like a one-for-one swap.
Three more things a video skips:
- Door-weight-to-spring-match. Spring wire size and inside diameter have to suit the actual door. A Clopay or Amarr door weighs what it weighs, not what the video’s door weighs.
- The unwinding procedure for your setup. A video shot on one manufacturer’s system often won’t translate cleanly to a Wayne Dalton.
- Opener recalibration afterwards. A new spring changes the force the opener sees. Most modern openers, including LiftMaster and Chamberlain units, need a fresh travel-limit calibration after spring work. A video often stops before this step.
In our experience, the failure mode of DIY spring work isn’t usually the spring replacement itself. It’s the door that runs badly afterward because the opener was never recalibrated to the new spring tension. That’s the job we get called back for most often in Lansing.
The Opener Installation Break-Even Math
Opener installs are where DIY and professional costs legitimately cross. Here’s the arithmetic, in plain terms:
DIY opener install needs:
- A ladder tall enough for your ceiling height.
- Drill, socket set, level, tape measure.
- Wiring comfort if the existing outlet isn’t where you need it (hire an electrician for that part).
- Time. Figure a few hours for a straight replacement, more for a new install.
- Willingness to troubleshoot safety-reverse calibration until it passes the test.
Professional install includes:
- Proper rail assembly and header bracket mounting.
- Travel-limit setting so the door stops exactly at the floor.
- Force calibration so the opener doesn’t fight a balanced door.
- Safety-reverse and photo-eye testing, documented.
- A working warranty if the opener fails.
Where DIY wins: you already own the tools, the ceiling configuration is straightforward, and you’re comfortable on a ladder with a smart/Wi-Fi opener that pairs cleanly. Where professional wins: your existing ceiling mount is old, your track and springs aren’t healthy, or you’re pricing a Genie or Craftsman unit that needs specific calibration you haven’t done before. For most Lansing homeowners replacing an opener in a house that’s more than a decade old, the professional install is cheaper once you include the cost of the second attempt.
Lansing Conditions That Change the Answer
We work in Lansing year-round, and the same jobs fail in roughly the same patterns. Some local context matters:
- Cold-season spring fatigue. Michigan winters put stress on any spring that’s been in service a few years. If your door gets heavier in January and February, that’s the spring talking, not your imagination.
- Seal degradation. Bottom seals in Lansing take a beating from ice and grit. Replacing one yourself is a genuinely good DIY job for a Saturday, well before the door starts dragging on the frame.
- Snow and ice on the photo-eye path. A sensor that “worked fine all summer” will often fault when the beam gets blocked by snowdrift. Clearing it is free. Calling for it is not a DIY-versus-pro question at all.
- Home age by neighborhood. Older housing stock around Genesee and the Eastside often has original-to-the-house door and opener equipment, which usually means legacy openers that pair poorly with newer smart-home hubs.
None of this changes the physics. It just tells you which maintenance tasks you’ll run into more often in Lansing. If you notice the door getting heavier through winter, get a professional look at the springs. If it’s snow in the beam, sweep it out and re-test the sensor yourself.
See the difference
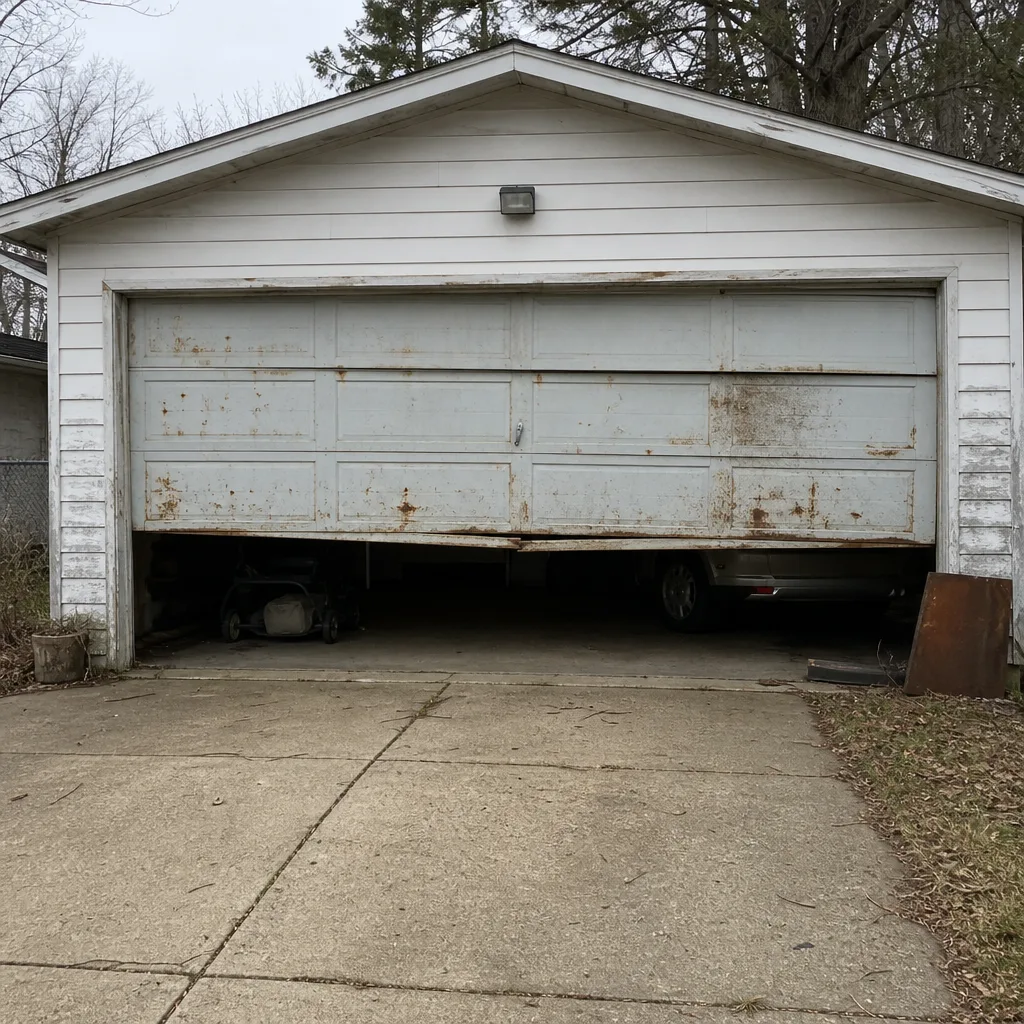 Before
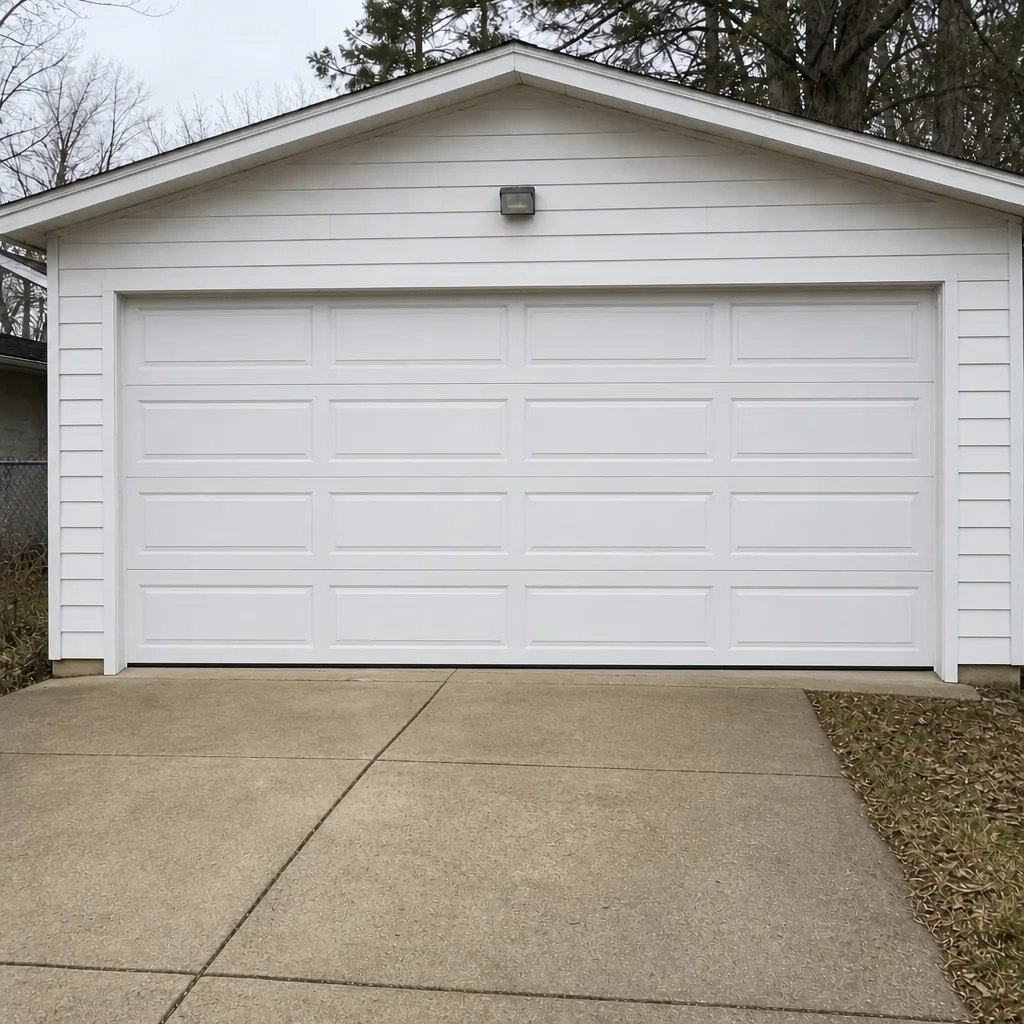 After
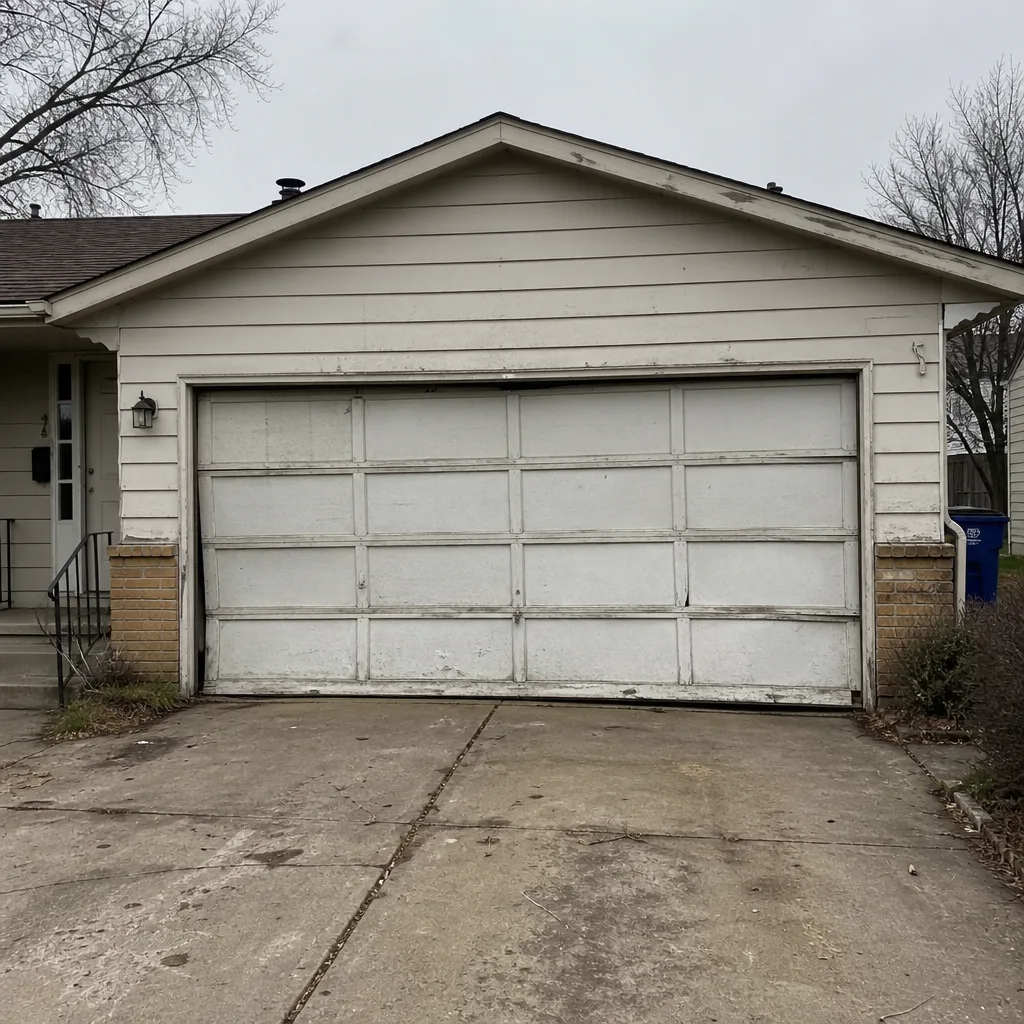 Before
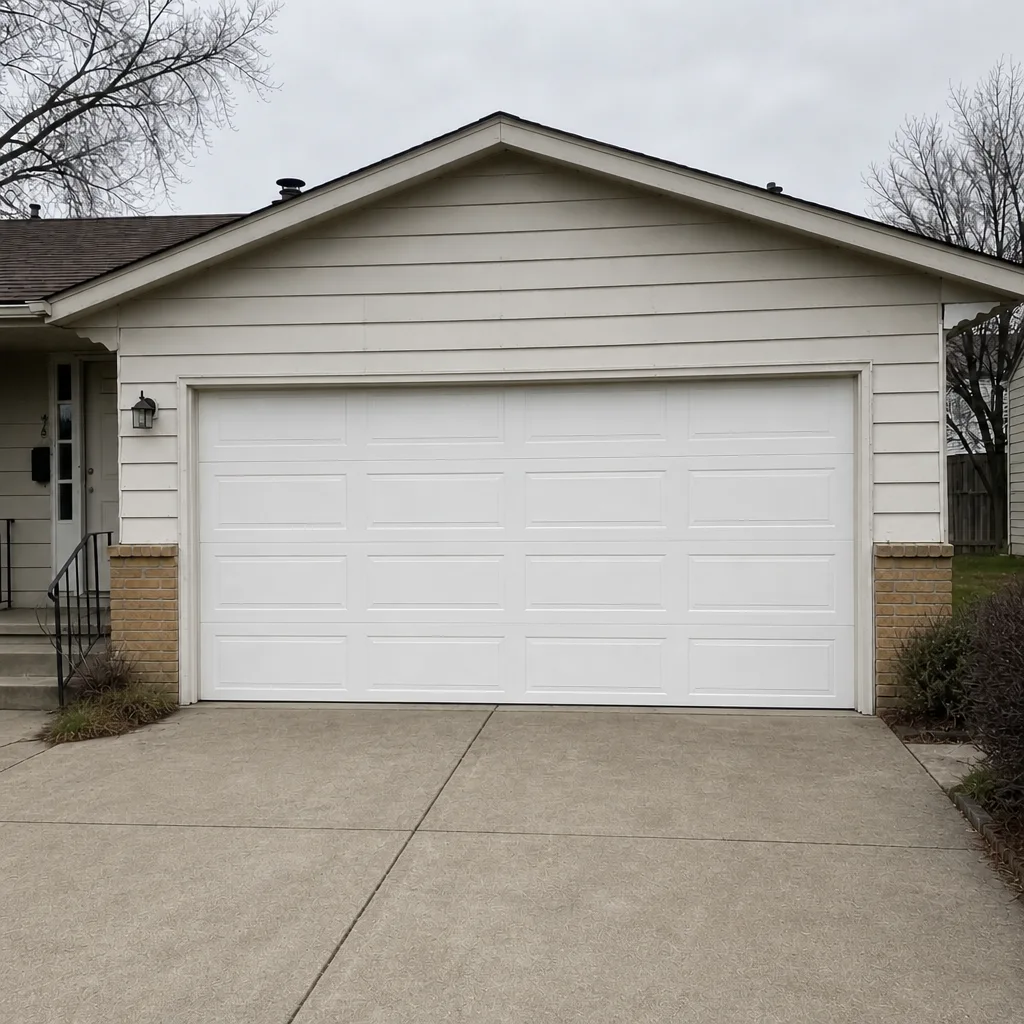 After
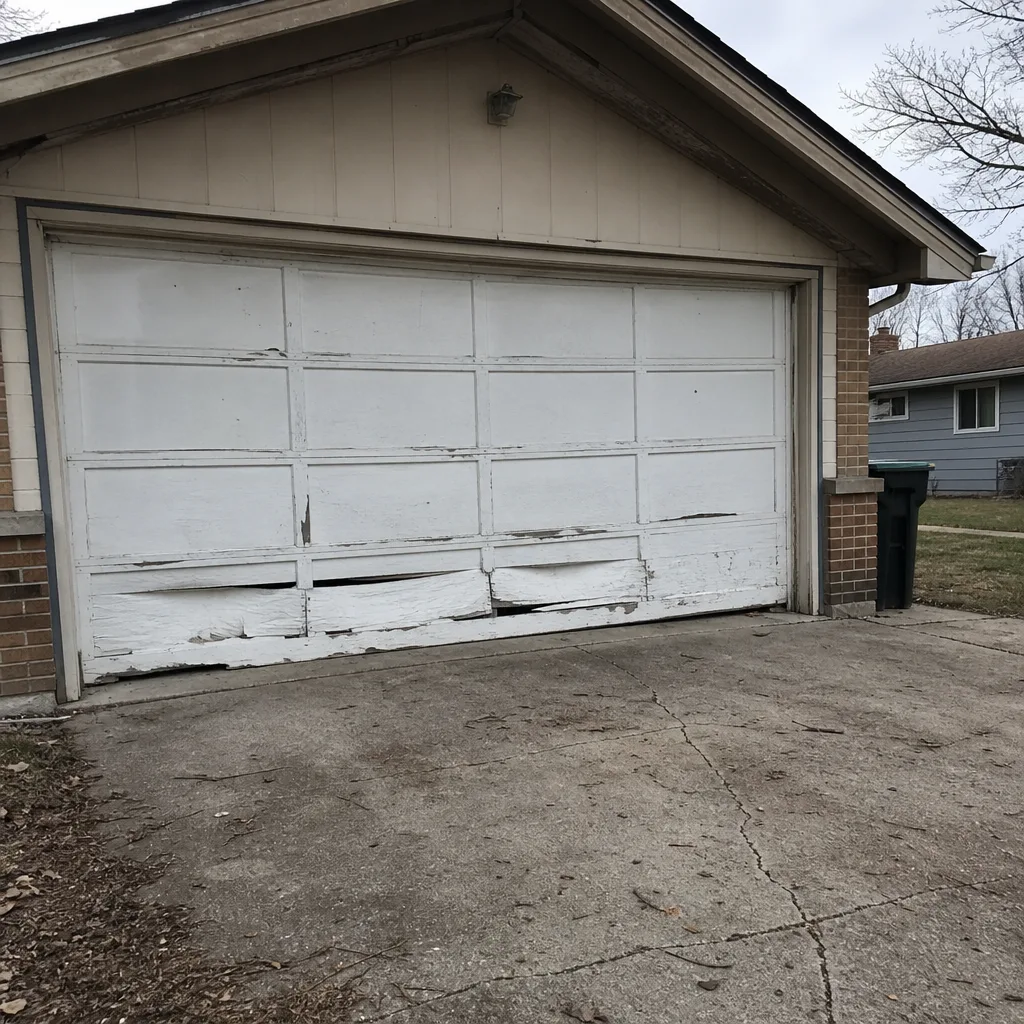 Before
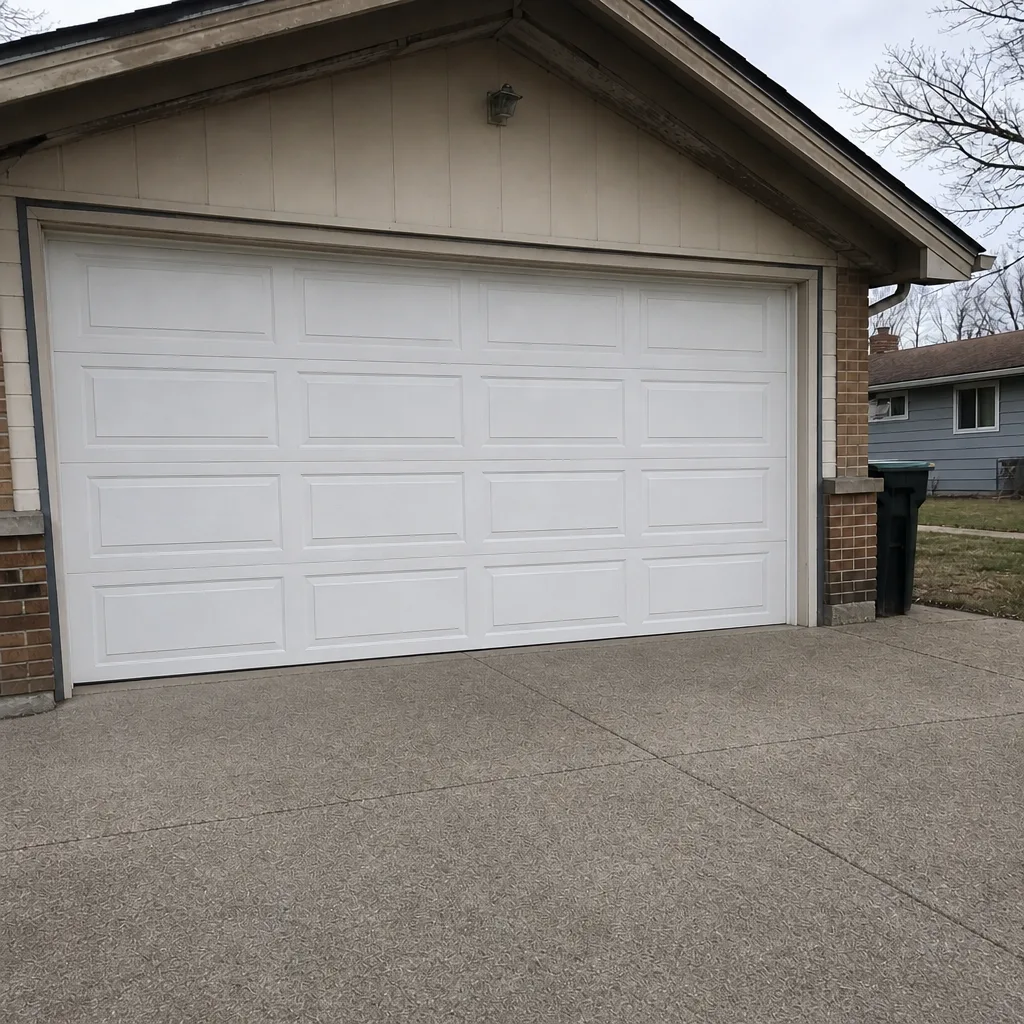 After
Common Mistakes to Avoid
- Testing a broken spring by hand. A spring that’s already popped can still be under some load. Even the “I’m just going to see if it moves” instinct is the wrong one.
- Assuming the opener is the problem when the door isn’t balanced. A tired spring makes the opener work overtime, and replacing the opener without fixing the spring wastes money. Balance test first.
- Using WD-40 as a lubricant. It’s a solvent, not a garage-door lubricant. It strips existing grease and leaves the door worse off. Use a proper silicone or lithium spray.
- Replacing a cable without releasing the springs. Cables are under spring tension. Loosening the wrong end first can whip the cable across the garage.
- Replacing one spring of a matched pair. Springs wear together. Replacing one leaves the door out of balance and the other spring about to fail. Matched pairs go together, and the cost is roughly twice a single spring.
- Skipping the safety-reverse test after an opener install. That’s the one test that matters most. If the door closes without reversing when something’s in the beam, the install isn’t done.
- Trusting a video that doesn’t show the door’s configuration. Standard-lift and high-lift look similar in a video but need different setups. If you don’t know which one you have, ask.
When to Call a Professional
Call a professional for torsion spring replacement, cable replacement, extension spring work, track realignment, and any panel job on a raised door. Call us if the balance test fails, if the door reverses inconsistently, if the opener is grinding or straining, or if the door has come off its tracks entirely. Same-day service is available for repairs and we handle the door, the opener, and the springs under one call, so you’re not juggling three contractors. Crossroads Garage Door Repair offers free estimates in Lansing, and we work on what you already have regardless of brand, from Craftsman to Clopay. Call (833) 673-0891. We answer 24/7, and fast dispatch runs from 7am to 7pm.
Frequently Asked Questions
No, torsion spring replacement is not a safe DIY job. The spring stores enough energy to cause serious injury in an instant, and the winding bars and fixture setup aren’t household tools. A trained professional has the right equipment and can do the job safely and correctly.
A single torsion spring replacement in the Lansing market is a modest, predictable repair, and a matched pair costs roughly twice that when both springs are replaced together, which is what we recommend. For an exact figure, call (833) 673-0891 for a free estimate. The written estimate sets the price before any work begins. We answer 24/7.
It can be, if you own the tools, your ceiling mount is straightforward, and you’re comfortable calibrating travel limits and safety-reverse. For older Lansing homes replacing an opener on failing springs or a tired track, professional installation that includes calibration and warranty is usually the better financial call.
Lubrication. A proper garage-door lubricant on hinges, rollers, and bearings takes ten minutes and prevents a surprising amount of wear. The balance test and photo-eye alignment check are both easy to run yourself too, and both tell you when to stop and call.
Yes. We handle all eight of the most common residential door and opener brands, including LiftMaster, Chamberlain, Genie, Clopay, Amarr, Wayne Dalton, Craftsman, and Raynor. Our approach is to identify the actual problem and repair it when possible, rather than defaulting to replacement. Call (833) 673-0891 for a free estimate, and we’ll take a look at what you have, not sell you a new one by default.
Most cities require a permit for certain garage door work, especially replacements and electrical connections to openers. Ask the City of Lansing’s building department what applies to your job, and confirm before the work. We can tell you what’s involved for our portion of the work.
The Bottom Line
The DIY-versus-pro question isn’t about courage. It’s about which task you’re holding. Lubrication, seal replacement, balance testing, and photo-eye alignment are reasonably yours. Springs and cables are professionally handled jobs where the tool cost and injury risk make the DIY math fail. Opener installs sit in the middle, and for older Lansing homes with aging springs or tracks, professional installation with calibration and warranty usually beats the DIY savings. When you do need the work done right, we work on whatever you already have, whatever brand, and we’re set up to repair rather than replace whenever repair will do. Call (833) 673-0891 for a free estimate. We answer 24/7, with fast dispatch from 7am to 7pm, Sunday through Friday.
Written by the team at Crossroads Garage Door Repair.