
Last updated November 15, 2026
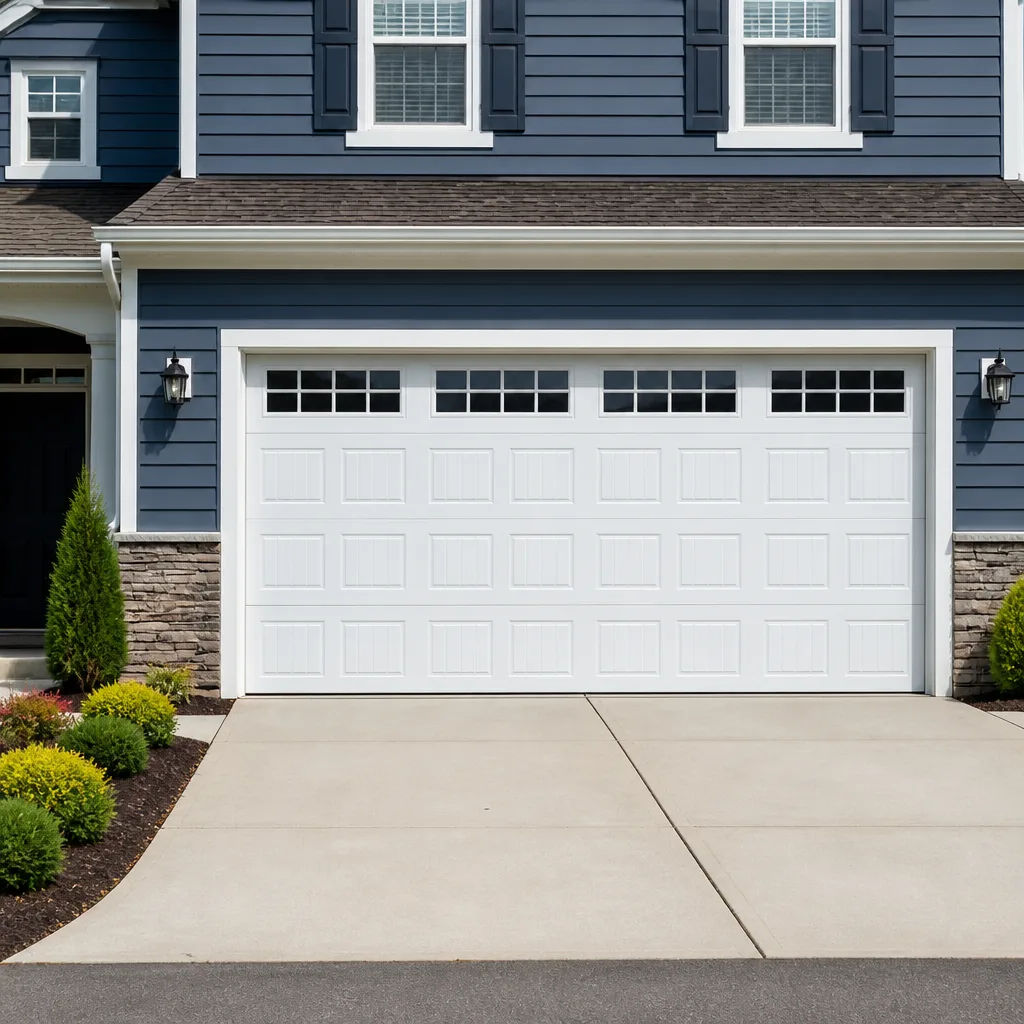 Raised-panel steel
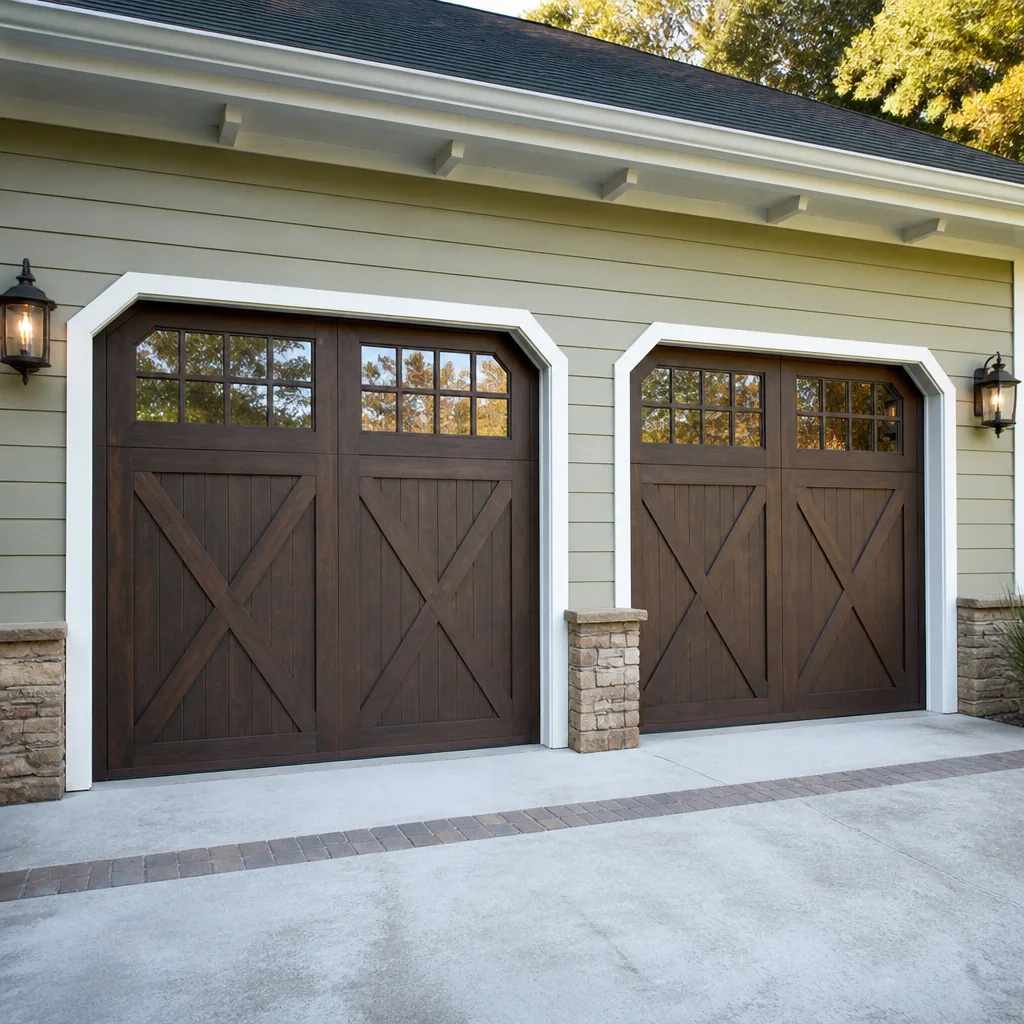 Carriage house
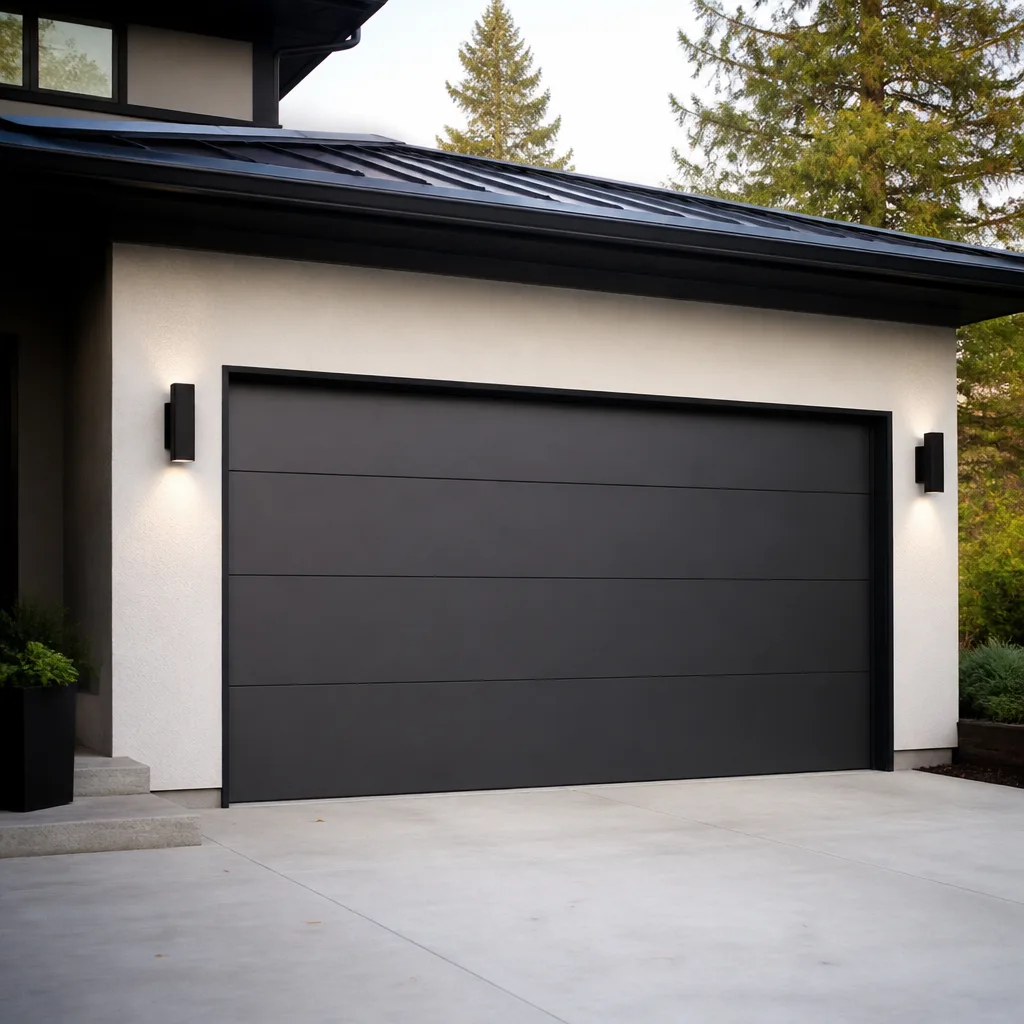 Modern flush
 Full-view glass
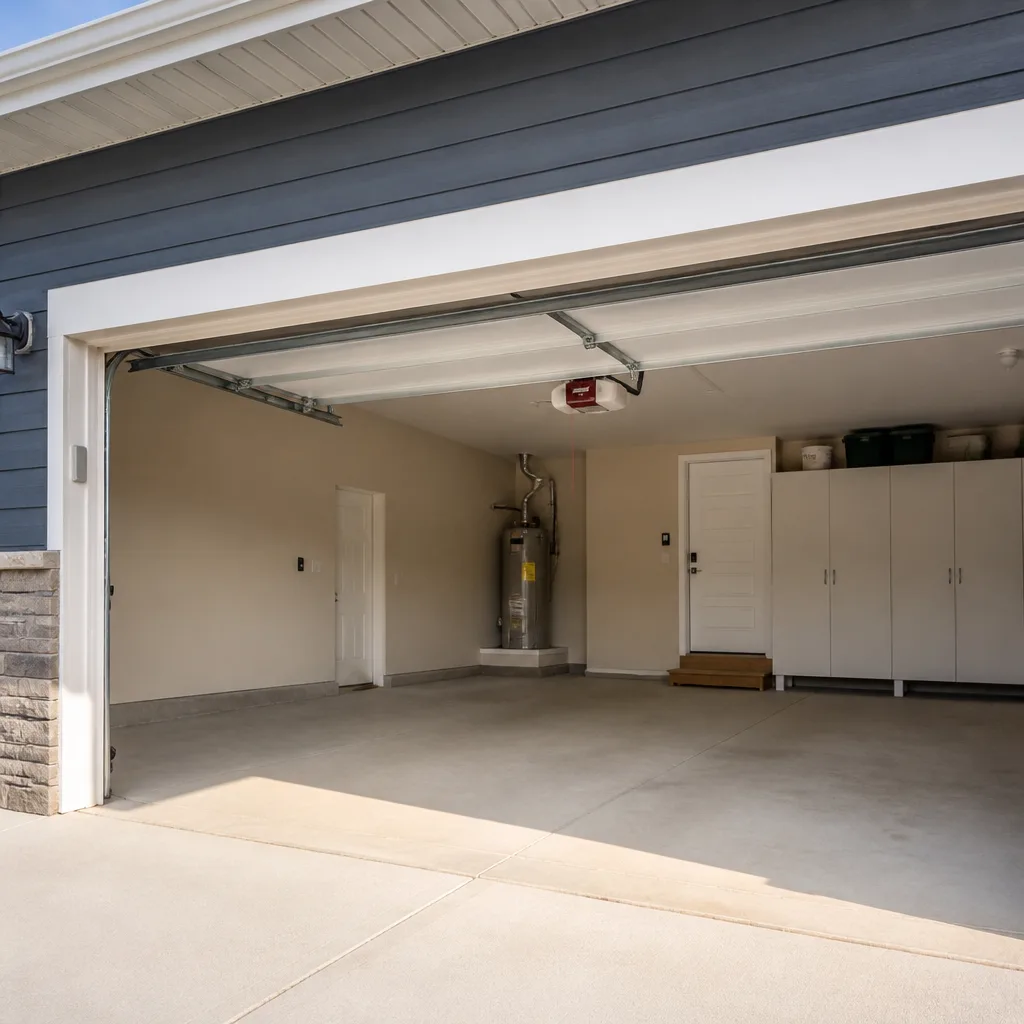 LiftMaster openers
 Chamberlain openers
Full 25-point door and opener safety check with every visit - springs, cables, rollers, tracks, and your LiftMaster or Chamberlain opener included
You get a price before we start. It does not change when the pro arrives.
Get your free estimateGarage Door Repair Maintenance Checklist for Lansing Homeowners
Most people expect the spring to snap first. In our experience around Lansing, it’s rarely that simple. The call we get most often in a cold snap is a door that won’t budge because the bottom seal has frozen to the concrete, and the opener keeps straining to lift against it until the motor gives out. A cheap rubber strip takes down a much more expensive part. This guide is a maintenance checklist sequenced by what actually fails first on the doors and openers common in Lansing homes, not one copied from a generic template. You’ll learn which parts to inspect, which tasks you can do yourself, and which ones belong to a trained technician.
Quick Answer
The most important garage door maintenance tasks for a Lansing homeowner are: keep the bottom seal flexible and clear of ice before the first hard freeze, lubricate the rollers, hinges, and spring hardware (not the springs on a torsion system), check the opener’s force-limit setting before winter, and inspect the cable drums for groove wear. Test the door’s balance and safety reverse every month. Handle springs and cables with a professional only.
Styles & brands we work with
- Raised-panel steel
- Carriage house
- Modern flush
- Full-view glass
- LiftMaster openers
- Chamberlain openers
Table of Contents
- Why This Checklist Is Ordered by Failure Rate, Not Alphabetically
- The Bottom Seal: The Cheapest Part That Causes the Most Calls
- Where to Lubricate (and What Product) on Torsion vs. Extension Springs
- Opener Force-Limit Settings and Why They Drift in Cold Weather
- Cable Drums: The Groove Pattern That Comes Before a Cable Jump
- The Monthly Balance and Safety-Reverse Test
- What Breaks First on the Brands Most Common in Lansing
- Which Tasks You Can Do Safely and Which Belong to a Technician
Why This Checklist Is Ordered by Failure Rate, Not Alphabetically
A checklist written in alphabetical order is easy to read and useless in practice. It puts “adjust track” before “check seal,” even though a frozen seal causes far more emergency calls in a Michigan winter than a slightly out-of-line track ever will. We’ve sequenced this one by what actually goes wrong first in Lansing homes, so your inspection time goes where it does the most good.
The reasoning is simple. Cold-weather failures cluster around a handful of moving parts and seals that interact with ice, temperature swings, and the freeze-thaw cycle that defines a Lansing winter. The parts that fail because of age alone (a tired spring, a worn bearing) fail on their own schedule year-round. Your seasonal effort should go to the parts that the climate attacks.
A few things make Lansing doors harder on themselves than doors in milder places:
- Winter temperature swings that drop below freezing overnight and climb back above it during the day, which is exactly the cycle that freezes a seal to the floor and then lets it grab again.
- Road salt tracked onto the apron and slab, which finds its way onto the bottom seal and the lowest panel edge.
- Homes in older, established neighborhoods around Lansing often have doors and openers that have run for many seasons without a real inspection, so small wear is further along than the owner realizes.
None of that means a door is doomed. It means the inspection order matters, and the parts most exposed to the cold deserve your attention first. The rest of this guide walks through each item in that order.
The Bottom Seal: The Cheapest Part That Causes the Most Calls
Start here. The rubber or vinyl strip along the bottom of the door is the part most likely to cost you a service call in Lansing, and it’s the one most homeowners never think about until something breaks. When the seal freezes to the concrete, the opener pulls against a door that is stuck to the floor. The motor keeps pushing current into a lift it can’t complete. That’s how a strip of rubber takes down a motor.
The test is straightforward and you can do it any time before the first hard freeze:
- Open the door fully and look at the bottom edge of the seal. It should be soft, pliable, and spring back when you press it with a thumb.
- If it feels hard, cracked, or leaves a permanent dent where you pressed, it’s lost its flexibility and will freeze to the slab faster.
- Check for gaps between the seal and the floor with the door closed. A visible line of daylight, or a draft you can feel, means the seal isn’t making contact and cold air and water are getting under the door.
- Look for salt stains, grit, and small tears along the lowest edge. Road salt tracked onto the apron eats at the seal over a season.
Damage shows up differently depending on what the door is made of. On a steel door, a frozen seal that grabs and releases can pull at the bottom panel and leave the paint cracked along the fold, which is where rust starts. On a wood door, trapped moisture under a failed seal is the bigger problem, and you’ll see the bottom rail soften and darken. On an aluminum door with an Amarr or Clopay panel, the seal usually fails before the panel does, which is the good outcome. Replace the seal when it’s hard or torn, keep the slab clear of ice at the threshold, and you remove the single most common cause of a burned-out opener in Lansing.
Where to Lubricate (and What Product) on Torsion vs. Extension Springs
Lubrication is where generic checklists get vague, and vague advice leads people to spray the wrong thing in the wrong place. The right approach depends on which spring system your door uses, and the two are not lubricated the same way.
First, figure out what you have. A torsion system has a horizontal shaft above the door with one or two springs wound around it. An extension system has springs running along the horizontal tracks on either side, stretching as the door closes. Extension springs are common on older and lighter doors; torsion is standard on newer and heavier ones.
Torsion system:
- Apply a light lubricant to the torsion shaft bearings at each end plate, and to the rollers, roller stems, and hinges.
- Do not coat the torsion springs themselves in heavy grease. A light film is enough to quiet them; a thick coat traps grit and does more harm than good.
- Wipe the vertical and horizontal tracks with a dry cloth. Don’t grease the tracks themselves; the rollers ride in them, and grease in a track collects debris.
Extension system:
- Extension springs slide against themselves as they stretch, so a light lubricant on the coils reduces friction and noise.
- Inspect the safety cables that should run through the center of each extension spring. If a spring ever breaks, the cable is what keeps it from flying. A missing or loose cable is a call-a-professional item.
- Lubricate the pulleys and the same rollers and hinges as above.
For product type, a silicone-based or white lithium spray works well on hinges and rollers. Avoid heavy grease anywhere grit can stick. The goal is a thin, clean film, not a coating. A squeaky door is usually telling you a roller or hinge is dry, and a few minutes with the right spray quiets it. If a noise persists after lubrication, it’s pointing at a worn part rather than a dry one.
Opener Force-Limit Settings and Why They Drift in Cold Weather
Your opener has a force-limit setting that tells it how much resistance to push through before it gives up and reverses. That setting isn’t fixed. It drifts over time, and cold weather makes the drift matter. A door that lifts easily in July can take noticeably more force in January, when the tracks, rollers, and seal are stiffer. If the limit is already set near its edge, the cold pushes it over, and the door stops halfway or reverses on its own. That’s the “my opener worked fine until it got cold” call.
Recalibrating before winter beats troubleshooting after a failed lift. Here’s how the process generally goes, and it’s the same idea across brands:
- Disconnect the opener using the manual release so you’re testing the door by hand first. A door that’s hard to lift by hand has a mechanical problem (springs, rollers, track) that no opener setting will fix.
- Reconnect and run the door through a full open and close cycle. Watch for hesitation, a stall point, or a reverse that happens before the door reaches the floor.
- Locate the force adjustment on your opener. On most Chamberlain and Genie units, it’s a screw or a pair of dials on the back or side of the motor housing, marked for open and close force.
- Adjust in small increments and retest after each change. The door should lift and lower smoothly without straining, and it should still reverse on contact.
One caution: force settings interact with the safety reverse, and setting force too high defeats the safety system. If you’re not sure, have it checked rather than turning screws until the door “just works.” A technician familiar with smart and Wi-Fi-enabled openers can also confirm the travel limits and safety sensors are set correctly, which matters more on newer connected models. Getting this dialed in before the first freeze is one of the highest-value items on the whole list.
Cable Drums: The Groove Pattern That Comes Before a Cable Jump
This is the item almost every checklist skips. The cable drums sit at each end of the torsion shaft, and the lift cables wind into grooves machined into them. Over time those grooves wear. When they do, the cable can slip out of its track and jump the drum, which is a sudden, sometimes violent failure. The warning is visible long before it happens, if you know where to look.
With the door closed and the springs under tension, look at the drums at the top corners. On a healthy drum, the cable sits evenly in its groove, with clean edges. What you’re looking for is the pattern that comes before trouble:
- Grooves worn wider than the cable. If the cable rattles loosely in its channel, the drum is worn.
- A cable sitting on top of the groove rather than in it. This is the cable starting to walk out, and it’s a stop-and-call situation.
- Frayed or kinked cable strands near the drum. A frayed cable is a cable about to fail.
- Rust or pitting on the drum surface that changes how the cable seats.
Do not try to reseat a cable or unwind a drum yourself. Cables and springs are under high tension, and a cable that jumps under load can cause serious injury. This inspection is about spotting the wear pattern and calling someone before it becomes a failure. A technician can replace a worn drum and cable as a set, which is cheaper and safer than waiting for a jump. This is one place where a few minutes of looking saves a much bigger problem.
The Monthly Balance and Safety-Reverse Test
A garage door is a heavy object held in balance by its springs. When the balance is off, the opener carries weight it was never meant to, and everything wears faster. The good news is that testing balance and safety reverse takes a couple of minutes and tells you a lot about the health of the whole system. Do it once a month.
Balance test:
- Close the door and pull the manual release to disconnect the opener.
- Lift the door by hand to about halfway and let go. A balanced door stays put. A door that drifts down or springs up is out of balance and needs a spring adjustment.
- Reconnect the opener when you’re done.
Safety-reverse test:
- With the door open, place a roll of paper towels or a small box flat on the floor in the door’s path.
- Close the door using the opener. When the door contacts the object, it should reverse and go back up.
- Also test the photoelectric safety sensors at the bottom of the tracks by passing an object through the beam while the door is closing. The door should reverse. If the sensors are misaligned or the lenses are dirty, the door may not close at all, which is a common “won’t close” complaint.
If the door fails the balance test, don’t keep running the opener against it while you decide what to do. An out-of-balance door stresses the springs and the motor at the same time. In Lansing, run these tests on a mild day if you can, since a door that’s marginal in warm weather will behave worse in the cold. The results tell you whether you’re looking at a simple adjustment or a part that’s on its way out.
What Breaks First on the Brands Most Common in Lansing
You don’t need to know the brand on your door to maintain it, but knowing what tends to fail first on the equipment common in Lansing homes helps you inspect the right parts. We work on whatever’s already on the door, and the brand-agnostic approach is part of how we diagnose. Here’s what we’ve noticed across the makes we see most.
- Chamberlain and LiftMaster openers (they share a lot of internal design) are some of the most common units on Lansing doors. On these, the force-limit drift in cold weather and the safety-sensor alignment are the two things to check before winter. Wi-Fi-enabled models also need their travel limits confirmed after any door adjustment, since the app and the physical limits have to agree.
- Genie openers show up frequently on older doors. Watch the drive system and the force settings; a Genie that’s straining in cold weather is usually fighting a stiff door, not failing on its own.
- Clopay and Amarr doors are common on newer builds around Lansing. On these, the bottom seal and the panel paint at the lowest fold are where winter damage shows first. Steel panels with a cracked seal edge are where rust starts.
- Wayne Dalton, Craftsman, and Raynor equipment turns up across a wide range of home ages. On any of these, the cable drum wear pattern and roller condition are the items worth a close look.
The point isn’t to memorize a brand’s weak spot. It’s that a single inspection pass covers the door, the opener, the springs, and the hardware, and the technician who knows all of them finds the actual problem instead of guessing. Whether your door is a Clopay panel or your opener is a Genie, the checklist items above apply, and the failure order is similar across brands.
Which Tasks You Can Do Safely and Which Belong to a Technician
An honest maintenance guide tells you where the line is. Some of this checklist is safe for a homeowner with a step stool and a can of lubricant. Some of it involves stored energy that can injure or kill, and no video makes that safe. Here’s the split, plainly.
Safe for most homeowners:
- Lubricating rollers, hinges, bearings, and the spring hardware as described above.
- Inspecting and replacing the bottom seal, which is a simple job on most doors.
- Running the monthly balance and safety-reverse tests.
- Cleaning the safety sensor lenses and clearing debris from the tracks.
- Visually inspecting the cable drums for the wear pattern described earlier, without touching them.
Belongs to a trained technician:
- Any work on torsion springs. A wound torsion spring stores enormous energy. Adjusting or replacing one without the right tools and training is how people get seriously hurt, and it’s the single most dangerous part of the system.
- Cable replacement or reseating. Cables are under high tension, and a jump or snap can cause severe injury.
- Replacing an extension spring or its safety cable.
- Realigning a bent track that’s carrying a loaded door.
- Resetting opener force or travel limits if you’re not confident in the adjustment, since a mistake defeats the safety reverse.
If a task here feels like it’s over your head, that’s not a failure on your part. Springs and cables carry energy that doesn’t forgive a slip. In Lansing, where a cold-stiffened door is already working its hardware harder, a marginal spring is more likely to let go during a DIY attempt. Call a professional for those items and keep the safe tasks for yourself.
Common Mistakes to Avoid
- Waiting until the door fails to check the seal. By the time the opener burns out, the cheap fix that would have prevented it is already overdue. Check seal flexibility in fall, before the freeze.
- Greasing the tracks. People assume a squeaky door needs grease everywhere. Grease in the tracks collects grit and makes the door work harder. Wipe tracks clean and lubricate the rollers and hinges instead.
- Turning up the opener force to “fix” a stiff door. If the door is hard to lift by hand, the problem is mechanical, and more force just hides it while straining the motor. Fix the door first.
- Ignoring the cable drums. Most homeowners never look at them, and the wear pattern shows up long before a cable jumps. A visual check costs nothing.
- Running an out-of-balance door while deciding what to do. An unbalanced door wears the springs and the opener at the same time. Stop using it and get it adjusted.
- Assuming a brand-name opener means the door needs replacing. A Chamberlain motor that stopped lifting in January usually needs a force adjustment or a seal fix, not a whole new system. A good diagnosis finds the actual cause.
- Cleaning the slab of snow but leaving ice at the threshold. Ice bonded to the slab under the seal is what freezes the door to the floor. Clear the threshold, not just the driveway, before a deep freeze.
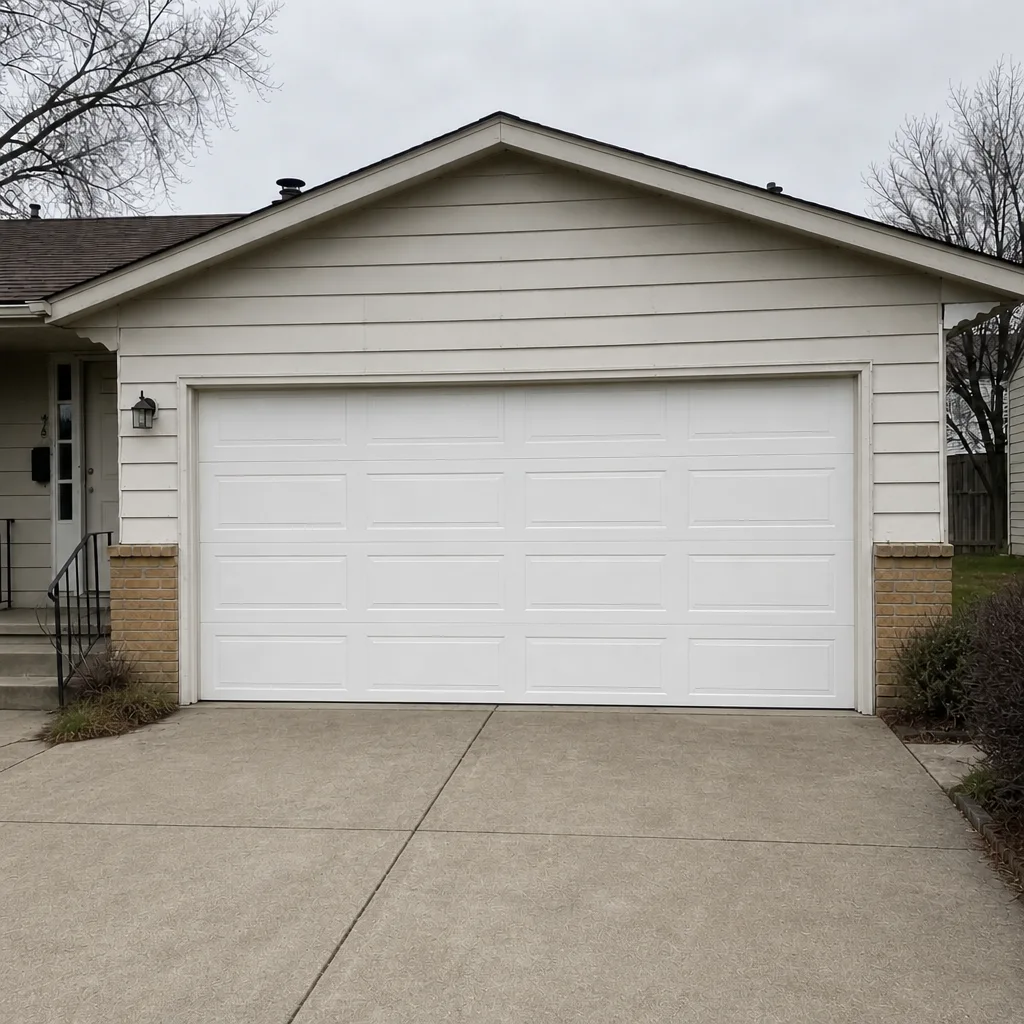
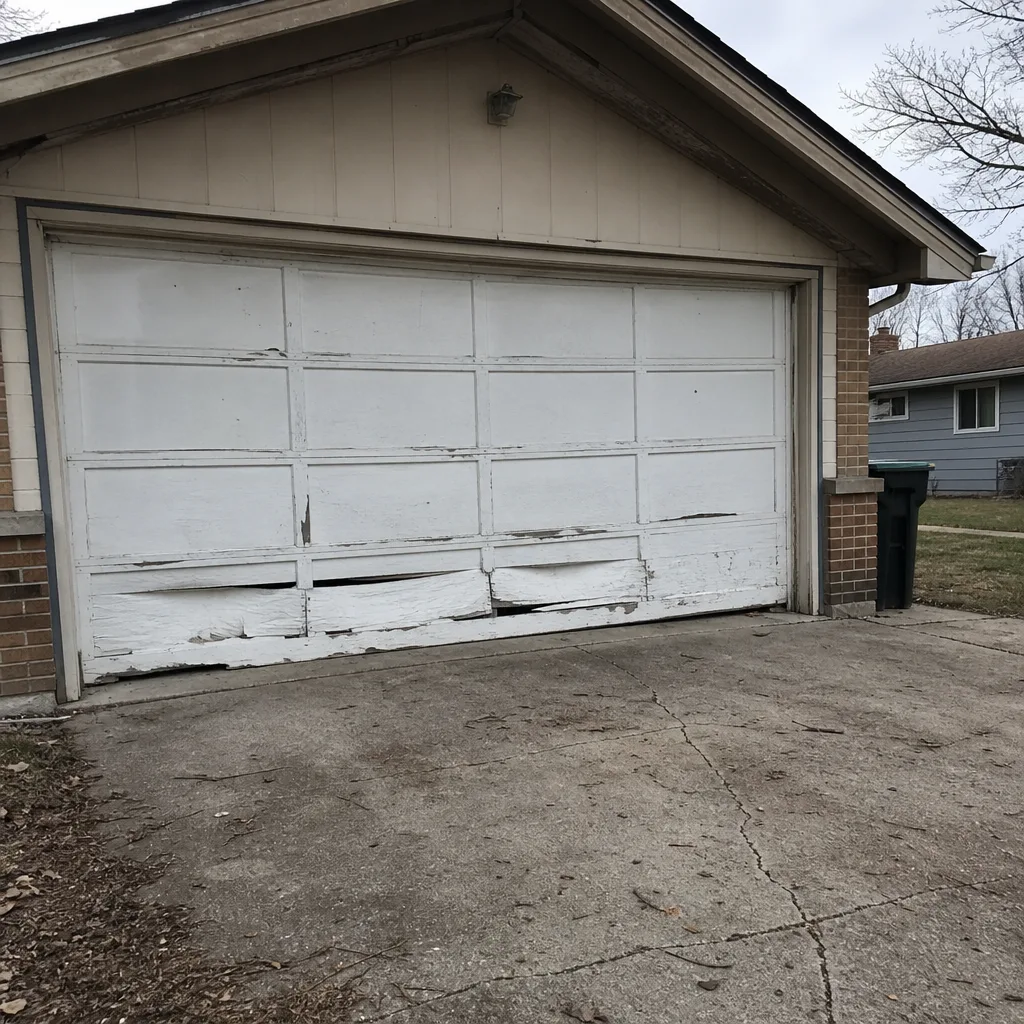
See the difference
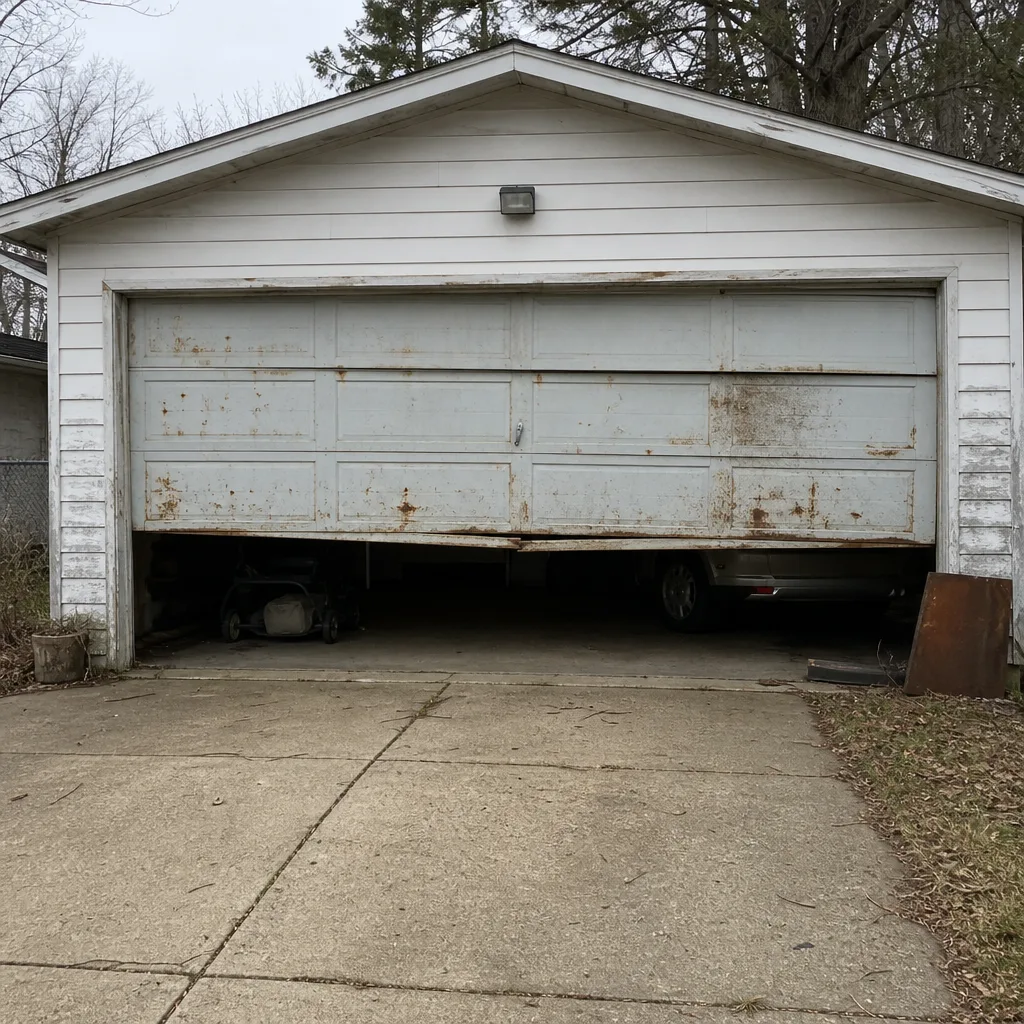 Before
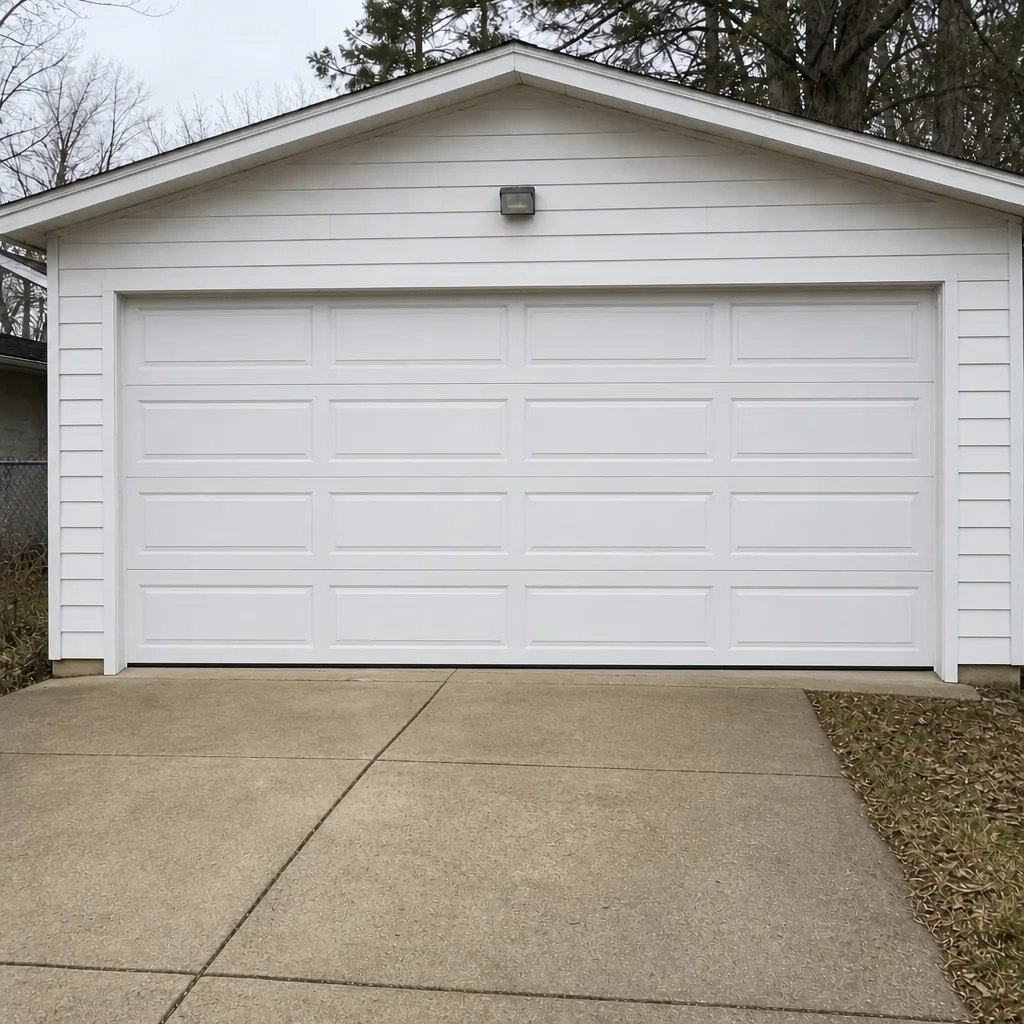 After
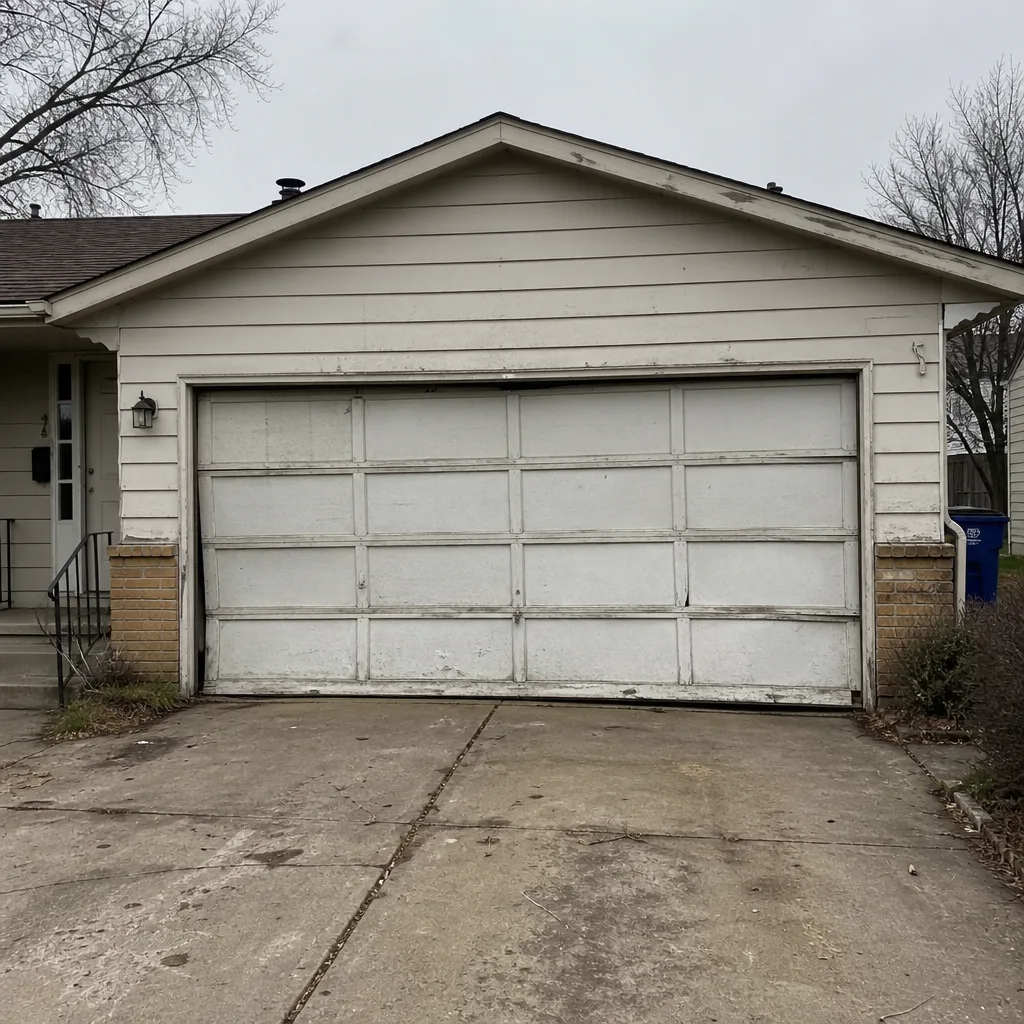 Before
 After
 Before
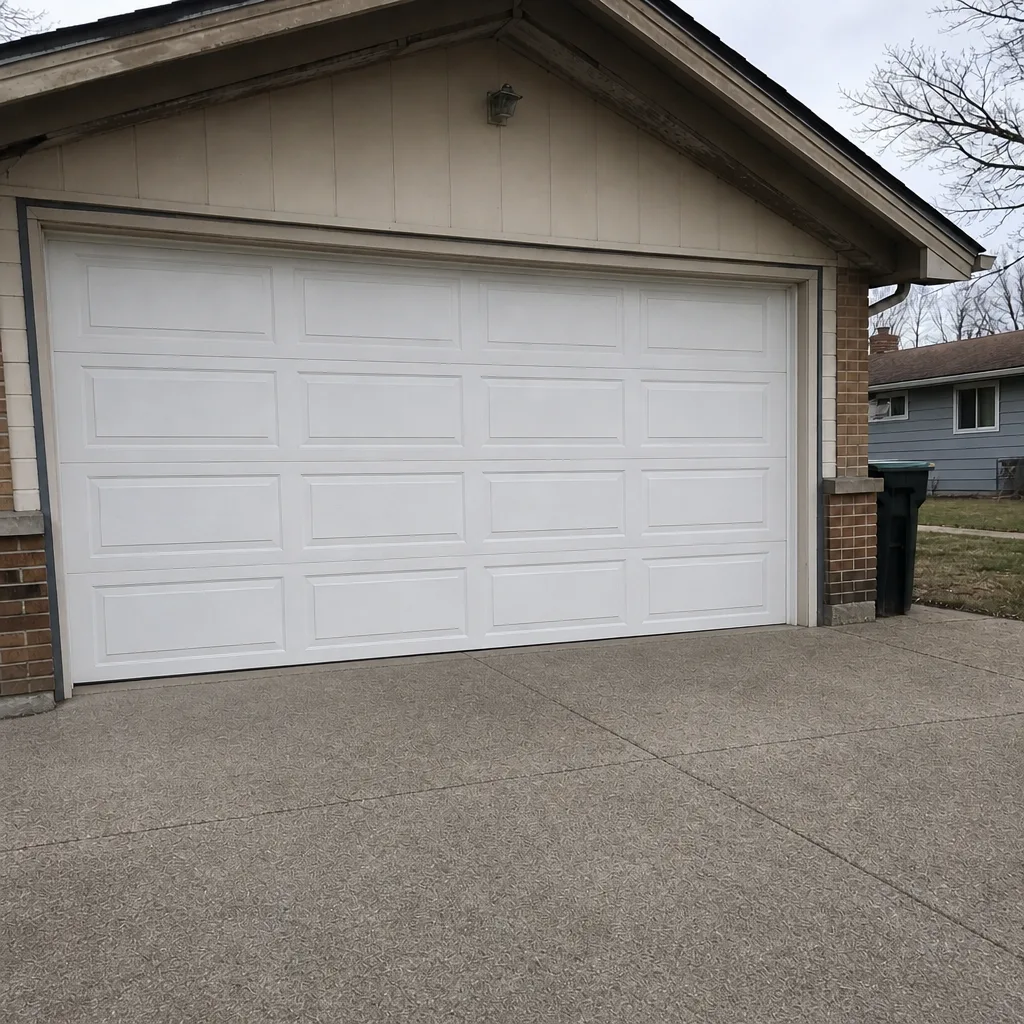 After
When to Call a Professional
Some problems are worth a phone call rather than a Saturday project. Call a professional if your door is more than slightly out of balance, if you hear a loud bang and the door won’t lift (a spring has likely broken), if a cable looks frayed or has jumped a drum, if the opener reverses for no clear reason after you’ve cleaned the sensors, or if a bent track is binding the door. Any of these involves stored energy or a loaded door that shouldn’t be handled without the right tools.
For routine work, a professional inspection once a year catches the wear items before they fail. Crossroads Garage Door Repair offers free estimates in Lansing: call (833) 673-0891. Our technicians have up to 13 years of experience across the brands most common in the area, and we repair when repair is possible rather than defaulting to replacement. One call covers the door and the opener, so you’re not handed off between contractors. For garage door repair or an opener that’s giving you trouble, start with a free estimate.
Frequently Asked Questions
A full professional inspection once a year, with homeowner checks like the seal, lubrication, balance, and safety-reverse tests done monthly or before each season change, keeps a Lansing door in good shape. The cold-weather items (seal flexibility, force-limit settings, cable drum wear) are worth running through in the fall before the first freeze. Call (833) 673-0891 for a free estimate if you’d rather have the inspection done by a technician.
It freezes shut because the bottom seal bonds to ice on the concrete slab, usually after a temperature swing that melts snow and then refreezes it under the door. Keep the threshold clear of ice and make sure the seal is soft and making good contact. A seal that’s hard and cracked grips faster; replacing it is one of the cheaper fixes on the list. If your opener is already straining or has stopped, call (833) 673-0891.
You can apply a light lubricant to the spring hardware and to extension spring coils, but never work on a torsion spring’s tension or adjust it yourself. A wound torsion spring stores dangerous energy, and adjusting it without training is how serious injuries happen. Stay with the safe tasks and let a technician handle anything involving spring tension or cables. Call (833) 673-0891 for a free estimate on spring work.
Usually not. A cold-season failure is often the force-limit setting drifting, a stiff door the opener can’t lift, or a frozen seal. Test the door by hand first; if it’s hard to lift, the opener isn’t the problem. Call (833) 673-0891 and a technician can diagnose whether it’s the door, the opener, or the springs. The recommendation will be based on what’s actually failing.
Most doors need repair, not replacement. Worn rollers, a tired spring, a failed seal, a bad cable drum, or an opener that needs recalibration are all repairable. Replacement usually makes sense when the panels are structurally damaged, the door is badly out of square, or the repair cost approaches the value of a new door. A brand-neutral diagnosis tells you which you’re facing. Call (833) 673-0891 for a free estimate.
Yes, if you use the manual release. Every opener has a release that disconnects the door from the motor so you can lift it by hand. Make sure everyone in the house knows where it is and how to use it, since a Lansing power outage in winter is exactly when you’ll want the door open. If the door is hard to lift by hand once released, the balance or springs need attention, so call (833) 673-0891.
The Bottom Line
The order of this checklist is the whole point. Start with the bottom seal before winter, because ice under that seal is what burns out openers in a Lansing cold snap. Then lubricate the right parts the right way, confirm your opener’s force limit before the temperature drops, and look closely at the cable drums for the wear pattern that comes before a jump. Run the monthly balance and safety-reverse tests, and leave spring tension and cable work to a technician. Do those things in that order and you’re inspecting the parts that actually fail first. If any item looks past your comfort level, Crossroads Garage Door Repair can help, and for connected or legacy openers, our garage door opener repair covers both. Homeowners across Lansing can call for a free estimate before the next freeze.
Call (833) 673-0891 for a free estimate. We answer 24/7. Fast dispatch from 7am to 7pm, Sunday through Friday. Our technicians have up to 13 years of experience on the doors and openers most common in the area, and we repair when possible rather than pushing a replacement you don’t need.
Written by the team at Crossroads Garage Door Repair.